My son asks me about a DC to AC converter circuit. He uses the solar system to charge the 12V battery.
Which we normally use the 12V LED lighting, because of The power-saving and brightness enough.
But it is also expensive, and we have a lot of 5 watts Lamp should use it first.
This lamp requires 220VAC at 5 watts, therefore we have to make the DC to AC converter circuit 12VDC to 220VAC.
We use this circuit as the figure below because easy and cheap we have all parts at our store. We have two ways below!
1. Using CD4047 and MOSFET, transistors output max 60 watts
This way is easy to make, small.
The 12 volts of a Car battery and converted to AC 220V 60 watts. Then apply to appliances easily. And portability easy with Because of the small. In-circuit we use CD4047 and BD249 as the main part so is a mini circuit.
The working principle
When we connect the 12 volts into the circuit. The IC1 is set as an astable multivibrator circuit, so begins to works. Because pin 14 gets to the power supply voltage. Then, as result in IC1 start a frequency generator 50 Hz out of pin 10 and pin 11.
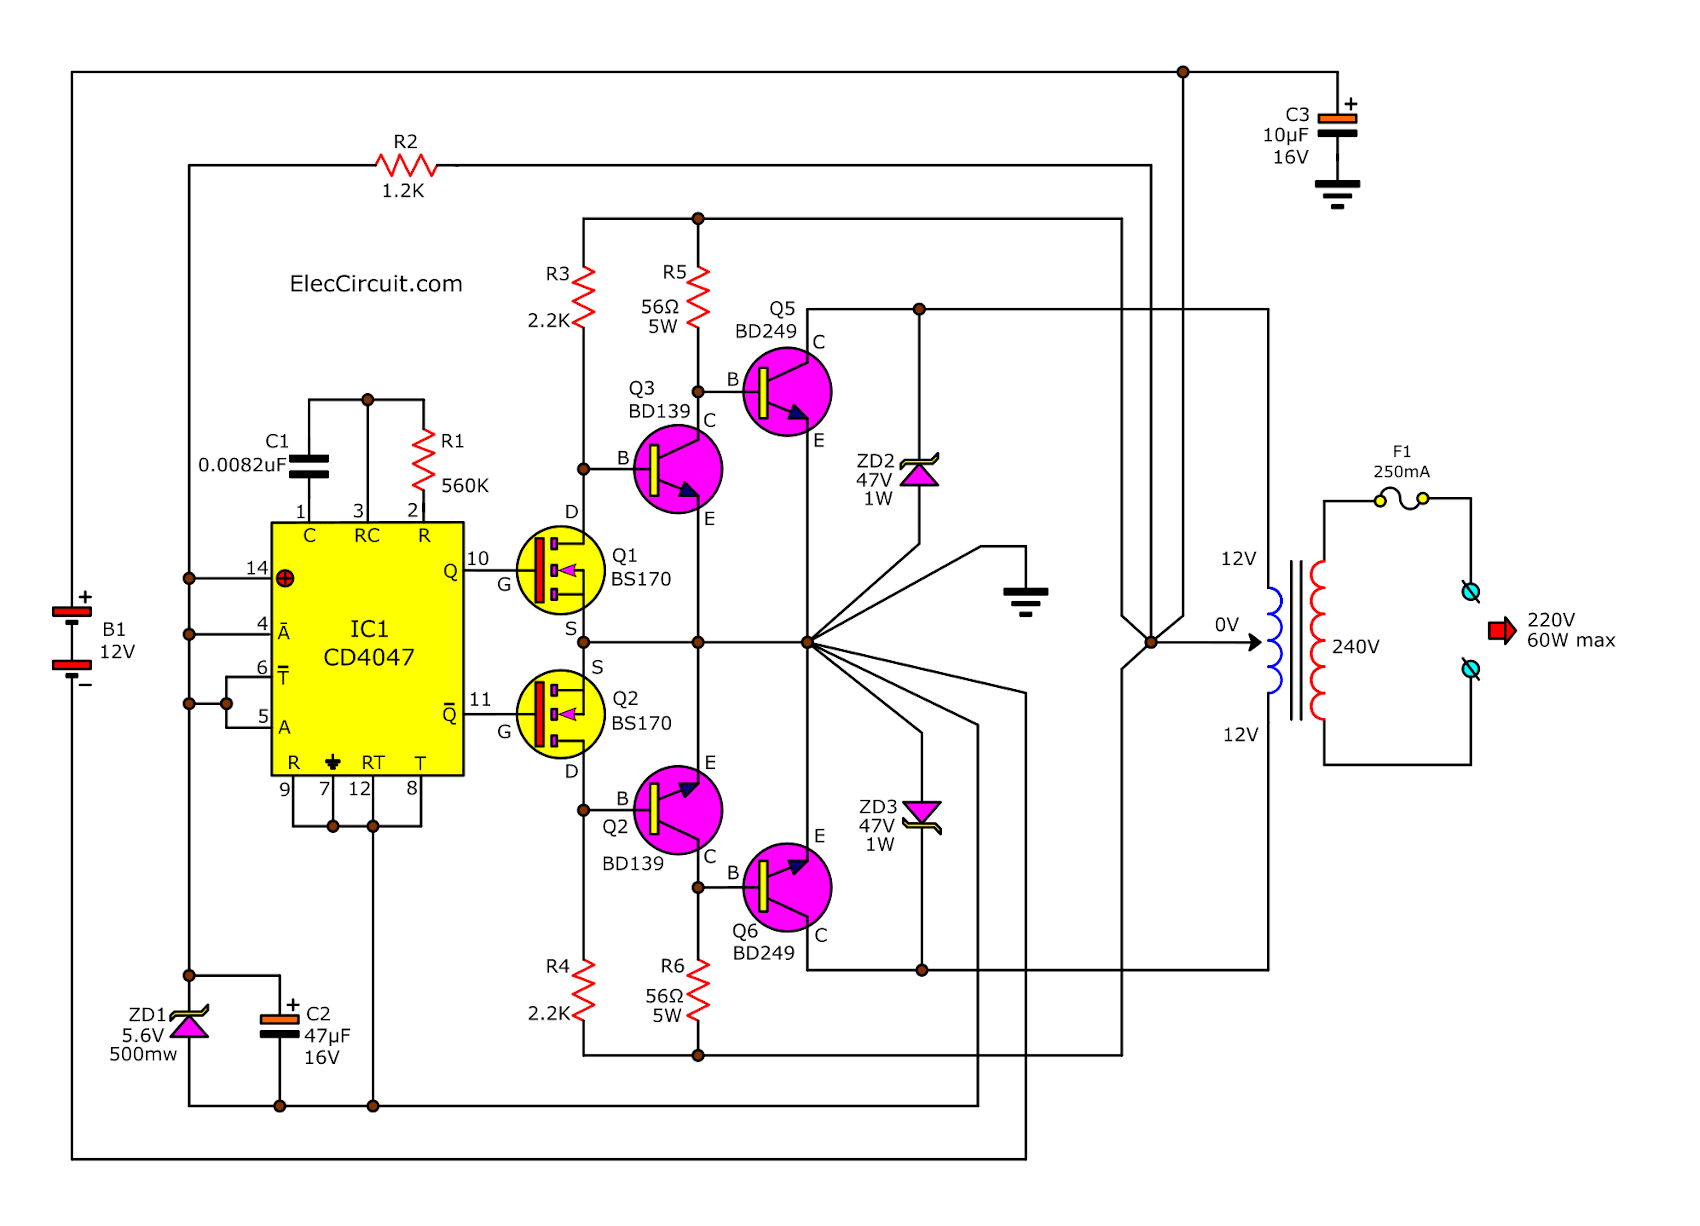
Figure 1 The mini DC to AC converter circuit of 60-watts using CD4047 and BD249
Which is an output pin of IC1 by both signals will have status always opposed. The output frequency at IC1 will be determined from R1 and C1.
So, if both values error frequency will cause the frequency output to wrong. The output from IC1 will connect with Q1 and Q2 MOSFET. Which they are a complementary circuit to increase signal rises up one step.
After that will be sent to Q3 and Q4 acts as high-frequency switching and drive to Q5 and Q6.
When Q5 and Q6 received signal is amplified, the final sequence, before sending to transformer-T1. The dual Zener diode-ZD2 and ZD3 will acts as a protector of a feedback voltage from the transformer.
The transformer-T1 will use center tap because there is 2 input voltage, T1 function to transform AC 12V from Q5 and Q6 into AC 220V and remains the same frequency. Which this voltage can be used for an inside appliance. But not more than 60watts.
How it builds
This project can be built with a universal board. Figure 2 is the component layout.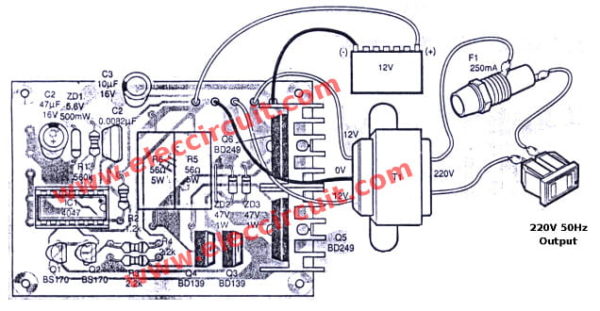
The component layout
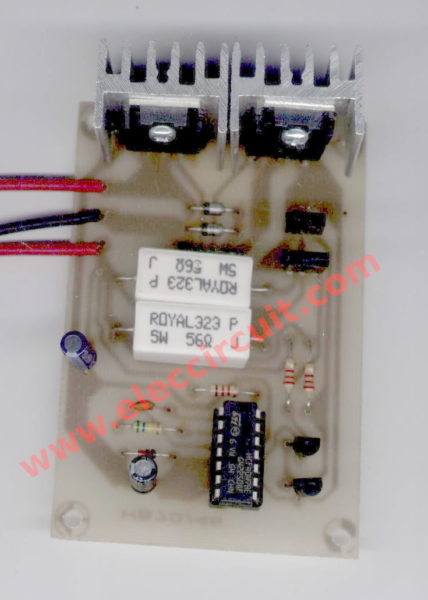
Prototypes, placing the device on the PCB
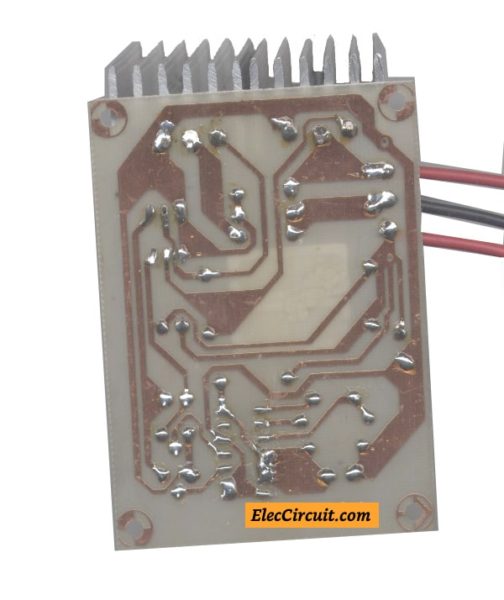
Soldering equipment on the copper layout
Application of DC to AC Converter circuit
Just take a Car battery or small motorcycle 12V, connected to the input point AC220V to be used and the appliance not over than 60 watts.
Then we test them by measure voltage output as Figure 5
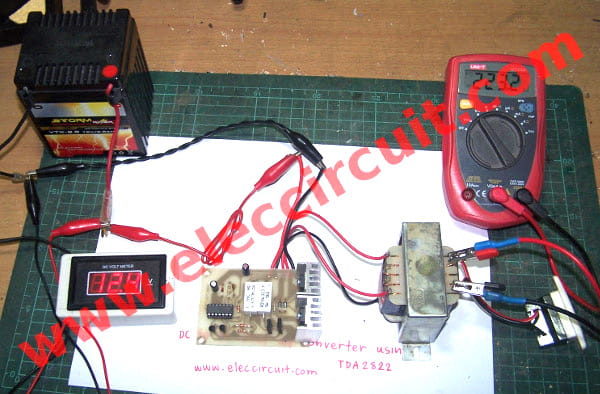
Figure 5 test this project and measure the output voltage.
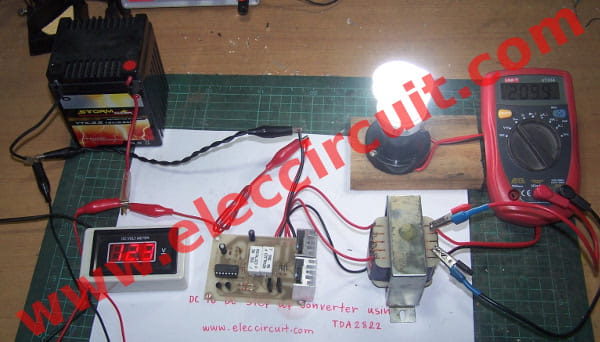
Figure 6 Then we apply lamp as load cause voltage output drop down to 210 volts.
or As the video below we are testing with 10 watts lamp
The components list
Resistors 0.25 watts
R1: 560K
R2: 1.2K
R3, R4: 2.2K
R5, R6: 560Ω 5W
Nonpolar capacitors, Ceramic, Mylar, Polyester
C1: 0.0082μF
Electrolytic Capacitor
C2: 47μF 16V
C3: 10μF 16V
Semiconductors
ZD1: 5.6V 0.5A Zener Diode
ZD2, ZD3: 47V 1W Zener
Q1, Q2: BS170 Mosfet
Q3, Q4: BD139 80V 1.5A NPN transistor
Q5, Q6: BD249 NPN power transistor
IC1: CD4047 Low Power Monostable Astable Multivibrator
T1: 1A transformer 12V CT 12V
Others, Heatsink, socket IC, Fuse, AC outlet, and etc.
2.Using All transistors for DC to AC converter circuit
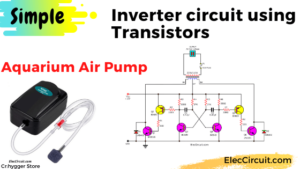
This circuit used the transistors as main parts so easy to buy in any store. But too many components and parts.
How it works
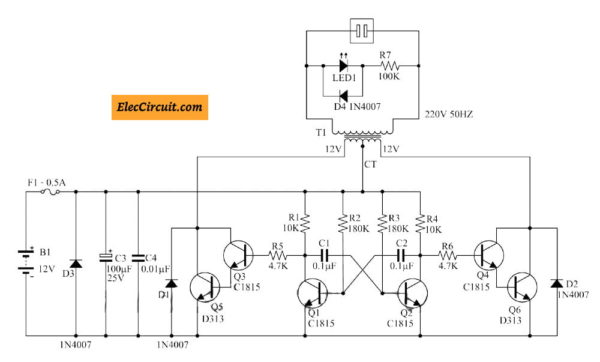
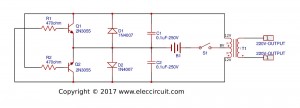
We know that a transformer can increase voltage step up to high voltage. But we need the circuit can help us. The is key, the oscillators circuit at 12V as AC12V then apply to the transformer step-up from 12V to 220V.
This circuit can power an output is 10 watts max. First of all, we use easy a 50Hz Square Wave Oscillator Generator circuit with Q1, Q2, R1, R2, C1, C2 is assembled as the astable multivibrator form.
But now its low current cannot drive the transformer. We need to use the power transistors set as Figure, both transistors on Darlington compound as Q3, Q5, and Q4, Q6.
The high current transistors are 2SD313 or H1061 or TIP41, Drive 12V CT 12V to 220V Transformer output.
Others components
– The LED1 is used for power on output shows. R1 is limit the current of LED1 to a safe level. And D1 is the protection of LED as well.
– D3 protects the wrong polarity input source.
– F1 protects too much current when short circuit.
– D1 and D2 are protecting the Max spike Current from the transformer works.
Parts you will need
Q1,Q2,Q3,Q4: 2SC1815,2SC945 or BC547 or CS9013_NPN transistors 0.5A 30V
Q5,Q6: 2SC1061, 2SD313, or TIP41_NPN transistors 3A 30V
C1, C2: 0.1uF 50V ceramic capacitors
R1, R2: 10K 0.5W 5% resistors
R3,R4: 180K 0.5W 5% resistors
R7: 100K 0.5Watts 5% resistors
D1,D2,D3,D4,D5: 1N4007 Diode 1000V 1A
LED1
C3: 100uF 25V Electrolytic capacitors
C4: 0.01uF 50V Ceramic capacitors
T1: 1A, 12V ct 12V to 220V transformer
F1: 2A fuse
You may like these circuits, too.
GET UPDATE VIA EMAIL
I always try to make Electronics Learning Easy.
Related Posts

I love electronics. I have been learning about them through creating simple electronic circuits or small projects. And now I am also having my children do the same. Nevertheless, I hope you found the experiences we shared on this site useful and fulfilling.

Help – It’s work but the voltage AC output is not correct, it’s only 3vAC, not 12vAC T__T why!!! plz help
Hi, Kelvin
Thanks for your comment.
If you have a normally transformer,input 220V to output 3VAC.
You can not use this circuit because it high output
Or
You change circuit new modify for 3V power supply.
But I think it very difficult. It must use high power current input.
and change circuit too.
Hi friend please tell me that can d313 be used as audio amp please give an example….i’ll wait…
Hi,Martin
You can replace 2N3055 with 2SD313 in https://www.eleccircuit.com/the-30-watts-rms-integrated-amplifier-projects-using-cheap-transistors/
They have power watts lower than using 2N3055.
But cheaper and easy.
Awesome.
Hi,Salim Khan.
Thanks for your feedback.
AWESOME! But, how can one on the other side of the planet, make this to output at 120VAC?
THANK YOU For taking the time to do this dialogue and pictures, I know it took serious commitment and people like myself, really appreciate you hard work. THANKS AGAIN!!!!
Hi, Pual C.
Thanks for your feedback.
hi admin will the ic4047 or gate region of mosfets get destroyed if i connect it directly to 35ah car battery due to inrush current
Hi, vasudev
Thanks for your feedback
You can use it but do not over load at under 60 watts only.
You this circuit better : https://www.eleccircuit.com/220-volts-power-inverter-using-ne555-and-mosfet/
hi if i use 20amps 9-0-9v transformer does the output power increases to180w
Hi,vasudev.
You should you 12V CT 12V will output is about 220V.
hi momename
thanks for your replay & support ,but i cant understand your English properly
@vasudev
If you use 9V CT 9V it cause voltage output too high over 230V.
I am sorry for my English not clear.
its OK i like your support and commitment for us ,i will ask you many questions like this please answer
hi what is the need of zd1(zener diode 5.6v 500mw)
Hi,Vasudev.
Yes, It need to use 5.6V Zener diode.
hi momename where do you stay
hi sir.. Can this inverter be used to charge the batry… That is the 12v batery can the inverter charge the batry if pluged to am AC main
cani i use the circuit for fishing if not can yo help me with a circuit for it coz i didn’t got any reliable info in search
thanks
Hi I often see inverters in shops and including yours the all boast 12v to 220v but hardly state or it is in the small print the current they use, with the small battery you have how long would it last drawing 60 watt as an resistive load like an incandescent lamp. I noticed you used a CEF lamp and already the voltage had fallen to 209 volts. Don’t worry I love inverters and made a few over time. I brought one off of ebay 1500 Watt for £10.00 + p.p “spares or repair” a simple repair but it uses 100 Amp to run it and had to buy 3 meters of red and black 10mm’2 cable what cost another £30, and unless I keep the car engine running the car battery would start going down after 10 minutes (my alternator puts out 139 amps)